
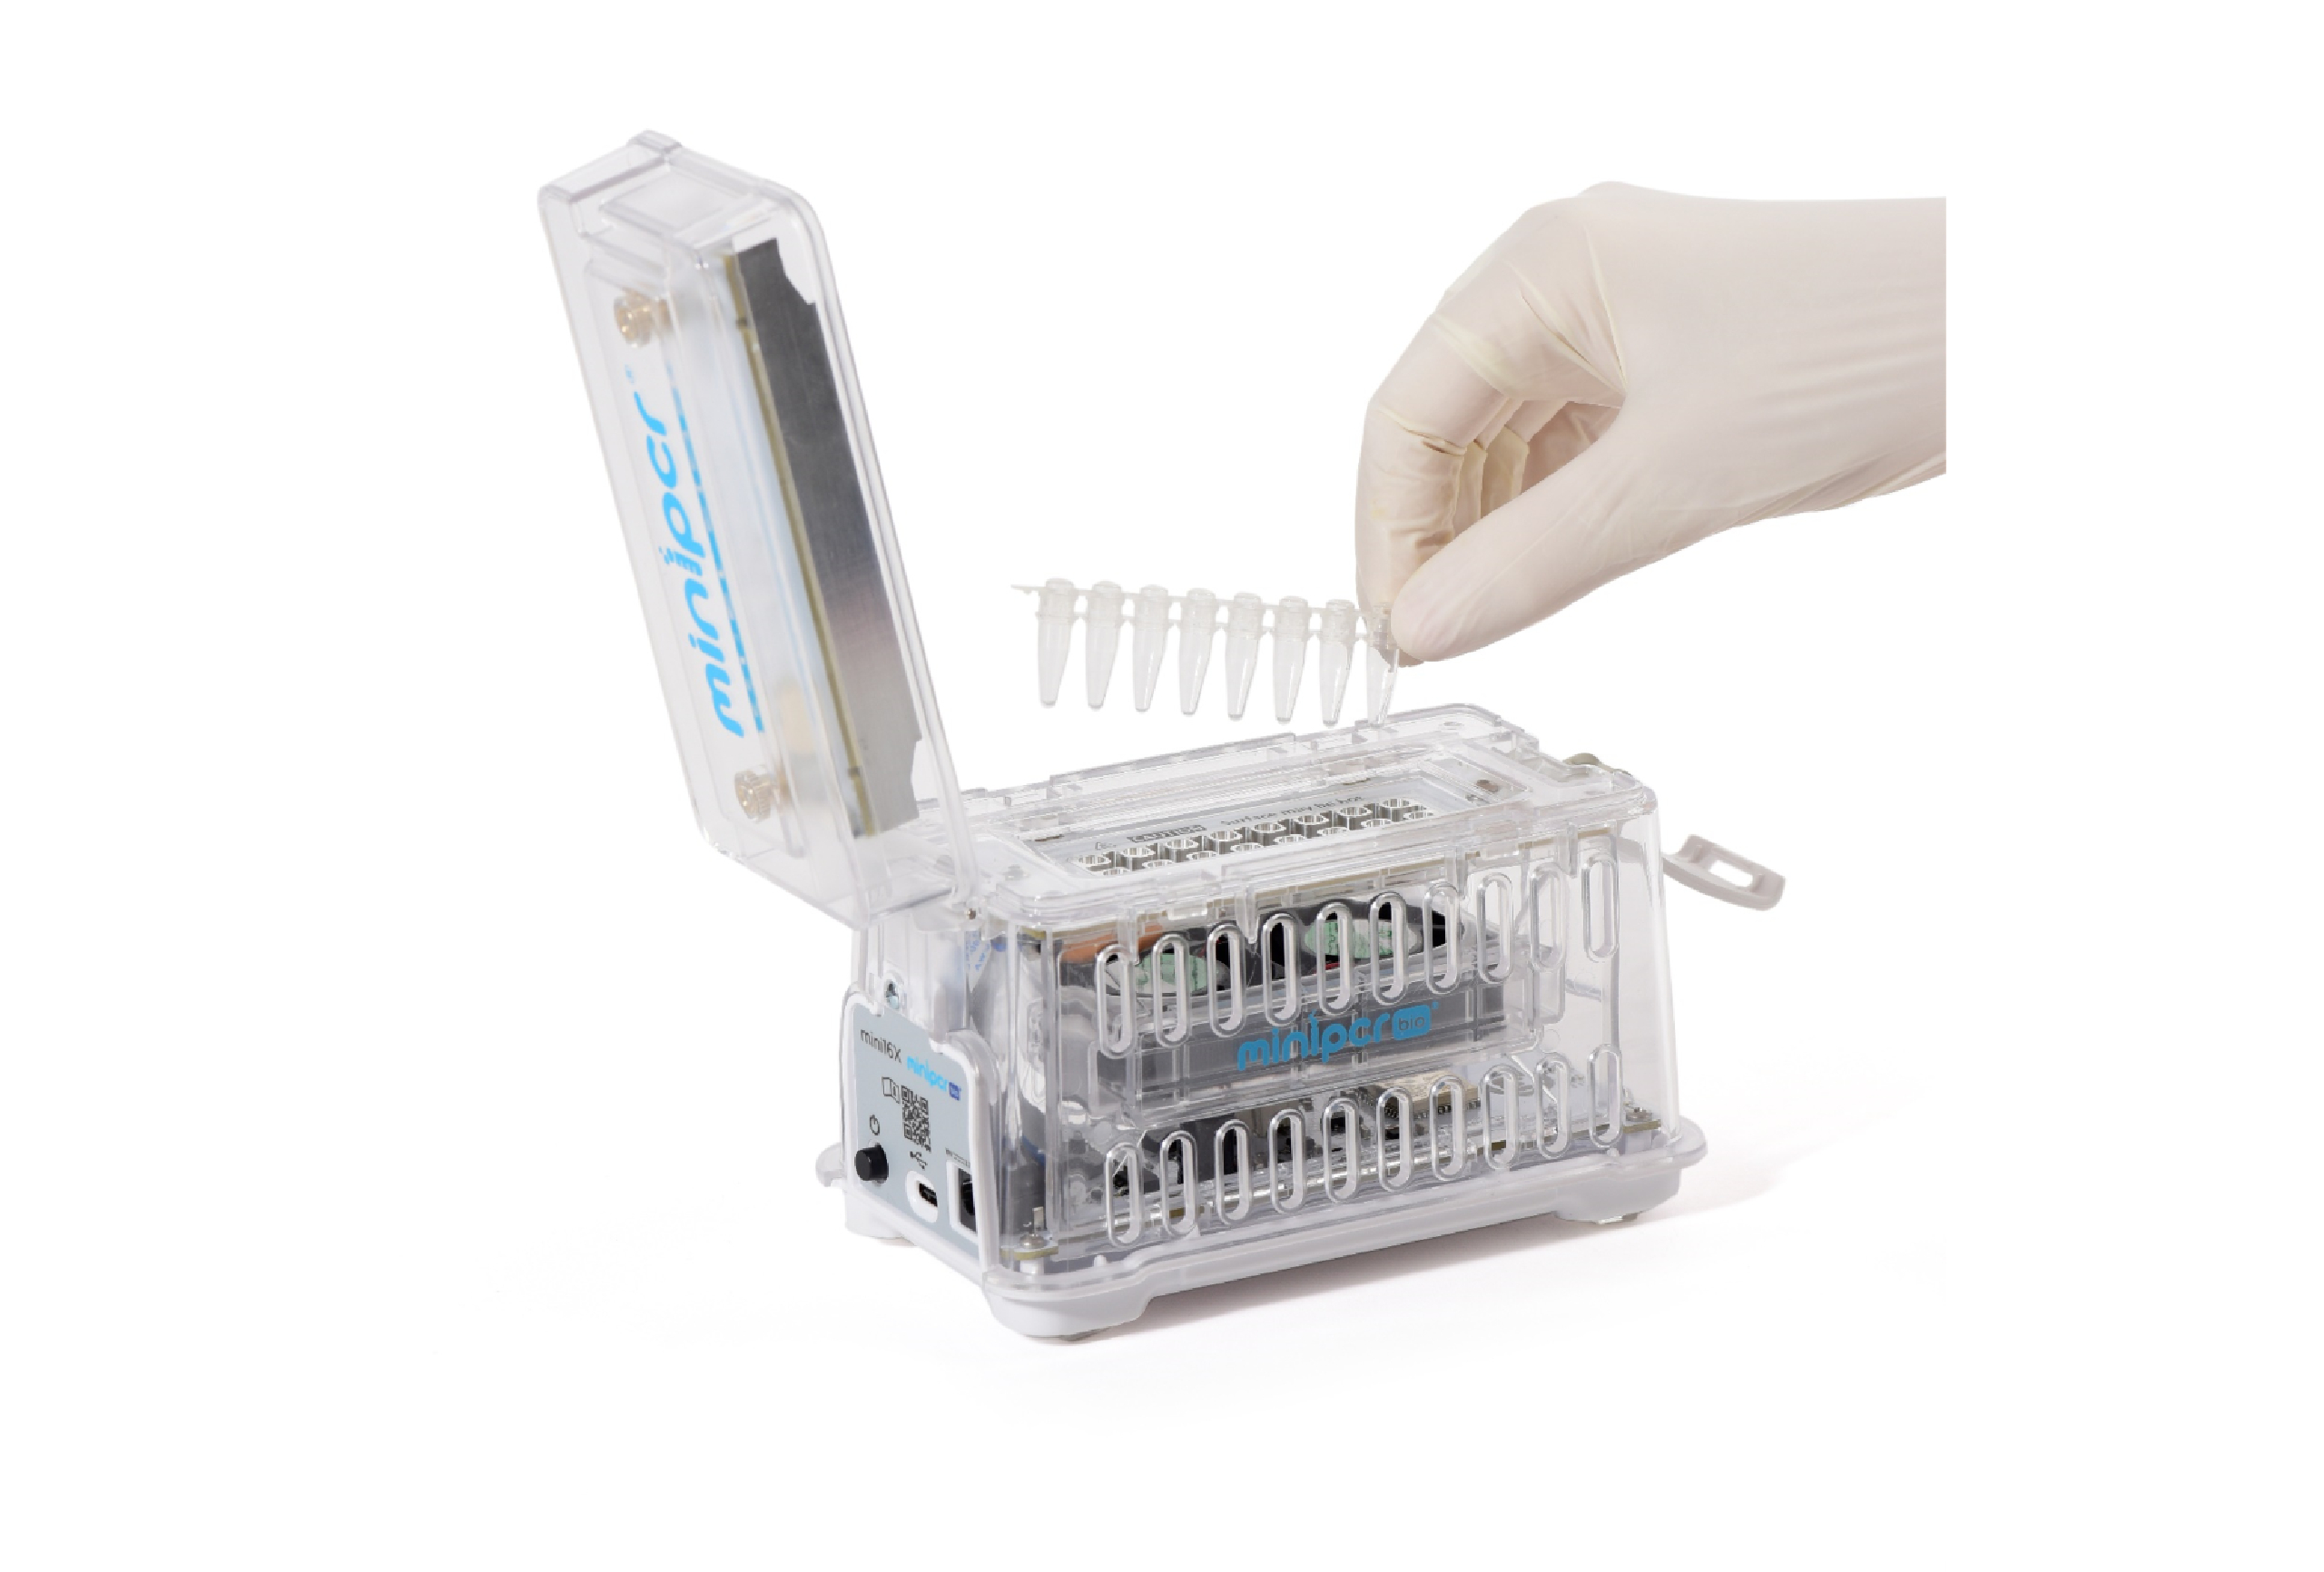
Learn how to turn your miniPCR® into a plug-and-play tester by programming your DNA protocol once and launching runs automatically with a simple flip of the power switch.
Always running the same PCR protocol for chicken DNA testing? Streamline your flock screening with the miniPCR® Auto Start feature. Save your protocol once to the library, and from then on, you only need to flip the switch on and off.
Program the miniPCR – Video tutorial
Check the miniPCR Programming Video, and jump straight to 6:34 to see exactly how to use the Auto Start feature, a simple pro trick that lets you run DNA tests just by flipping the power switch on and off, without needing a phone or computer in the barn!
A Step by Step Guide to Auto Start
With Auto Start, you “load” the miniPCR just once. After that, the machine remembers it until you decide to change it. Hers’s how to do it.
1. Setup (Do this once): Connect the machine to your phone or computer, open the app, switch Auto Start to ON, and run your PCR protocol.
2. Everyday Testing:
- Pop the tubes into the heating block and close the lid.
- Plug the miniPCR into power.
- Push the power switch IN (ON).
- That’s it! Your test starts running immediately by itself, no app navigation, no Bluetooth pairing, and no buttons to click.
If the machine is already plugged in and powered on, just cycle the switch OFF and back ON to start a fresh run.
For more information, check out the official miniPCR User’s Guide or explore more hands-on walkthroughs via the miniPCR Tutorials.